HairChanger guide
How to Take the Best Photo for an AI Hairstyle Preview
A simple photo checklist for cleaner hair boundaries, realistic proportions, and more useful comparisons.
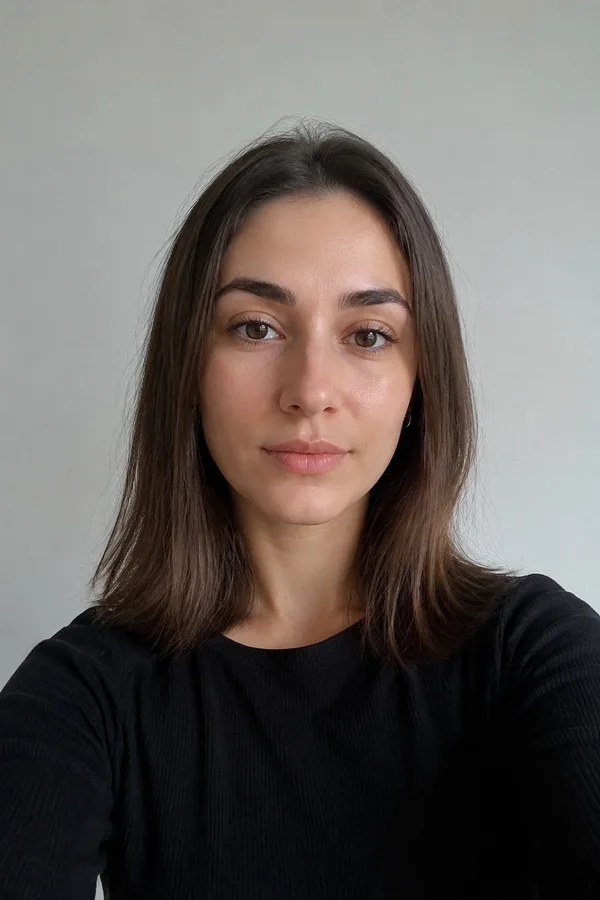
Choose even, natural-looking light
Stand facing a window or use a softly lit room. Avoid a bright light directly behind you because it can erase hair edges. Strong overhead lighting can create deep eye and jaw shadows, while colored lighting can change the apparent skin and hair tone. The goal is not a dramatic portrait; it is a clear reference image.
Keep the camera position neutral
Place the camera close to eye level and step back enough to avoid wide-angle distortion. A very close selfie can enlarge the center of the face and reduce the visible sides of the hair. Include the top of the head, both sides of the hair, the full jaw, neck, and some shoulder area so longer styles have space to appear.
Prepare the hair boundary
Move hats, large headphones, hands, and heavy foreground objects away from the hair. If possible, use a background that contrasts with your current hair color. Dark hair against a black wall or very light hair against a white wall makes the edge harder to read. A simple wall is better than a highly detailed room.
- No hat or hood
- No face or hair filter
- Hairline visible
- Minimal motion blur
- One person in the frame unless using a couple feature
Create fair comparisons
Use one source photo when testing several haircuts or colors. If the pose, light, expression, and camera distance change every time, it becomes difficult to judge the hairstyle itself. Save a short list of favorites and compare the same areas: forehead, cheek width, jaw line, shoulder balance, and color contrast.